I know what you’re thinking. “What happened to the post about the 1st and 2nd courses in the program?”
That’s very astute of you dear reader. The first project was split over two units and was a basic number guessing game where you think of a number and the game “guesses” what it might be. First through halving the guessing range each time and then finally by a more randomized guessing process. It was very basic and used as a way to get people more comfortable with Unity and the scripting engine, but contained nothing that I really needed to work through in this public setting.
The second as a text adventure built upon an unwieldy state machine. It was a good, high level overview of design docs and project planning, but there was nothing challenging in the code or the Unity interactions that are worth mentioning.
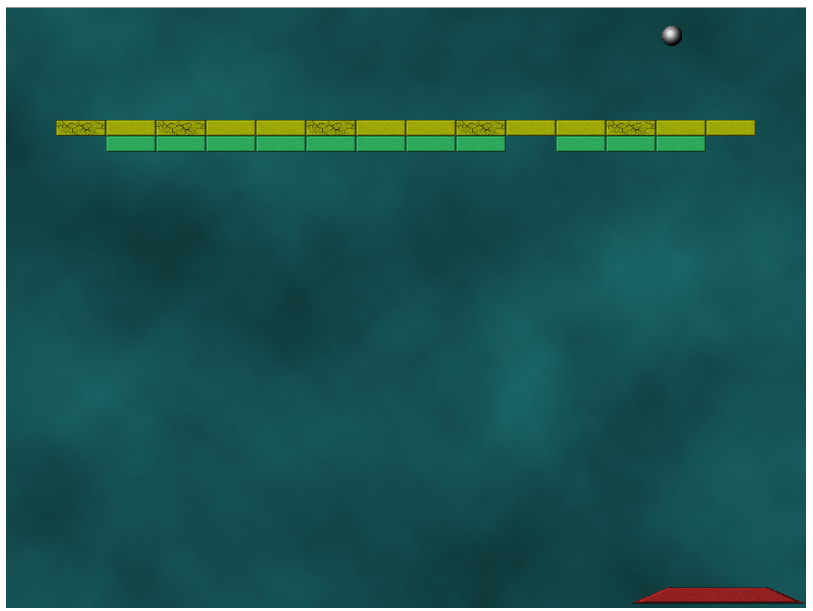
Where we really get into the meat of things is with the 3rd project in the course. Building an Arkanoid clone. This course dealt with a lot of really useful, interesting things link colliders and triggers, prefabs, sprites and how to manage them as well as just generally being a full fledged, animated game. There was quite a bit of image creation/manipulation in this course as well, but I’ve been using Photoshop quite regularly since 1996 so there were no issues there. Happily, that’s one fewer things I need to learn on my quest to make my own game.
You can see the completed project here, and it’s a very basic version of the block breaking game that most of you know by now. There are no power ups or anything that would change the state of the game of the fly, and while I would like to add those features in I would much rather push on through the courses and learn new things!
I did have a couple of stumbling blocks while going through this course. The first is a bit nebulous and really just pertains to learning a new programming language. There are so many methods/functions available in C# and just knowing what to call when is currently a bit daunting. This is one of those things that will come with time & training and I’ll just have to keep at it until I “get it”.
The second major issue I had relates to how the game space and associated sizes were set up, plus the “snap to grid” features. I get why we need to define the sizes, but there were things like “units” and “pixels per unit” that I didn’t quite understand. From some additional reading, Unity treats one unit = one meter by default, so you need to find out how many pixels per meter your image is in order to calculate the pixels per unit so that your sprites fit nicely on the grid?
Photoshop deals in pixels/centimeter so my understanding is that if I set this value to 100 when creating all of my sprites, I must set the pixels per unit value in Unity to 1000. That seems like a really high pixels/centimeter value which would result is some heavy file sizes. OK, I think maybe my confusion comes from overthinking this one. The pixels/centimeter in Photoshop really only relates to an images print size so I can leave the default settings there alone. If I have a 200×200 pixel image (regardless of the resolution) and I want it to translate to the game as a 75x75cm object I would work out the pixels per unit by taking the width (200), multiplying that by 100 (centimeters in a meter) and then dividing by 75 (the size in cm I want my in game object) so 200*100/75=266.6? If you know and I’m way off, please let me know in the comments!
I also encountered some initial confusion in linking game objects to scripts and exposing script variables to game objects, but that largely cleared up with a few examples and will likely become fixed in my mind after the next course.
Leave a Reply